
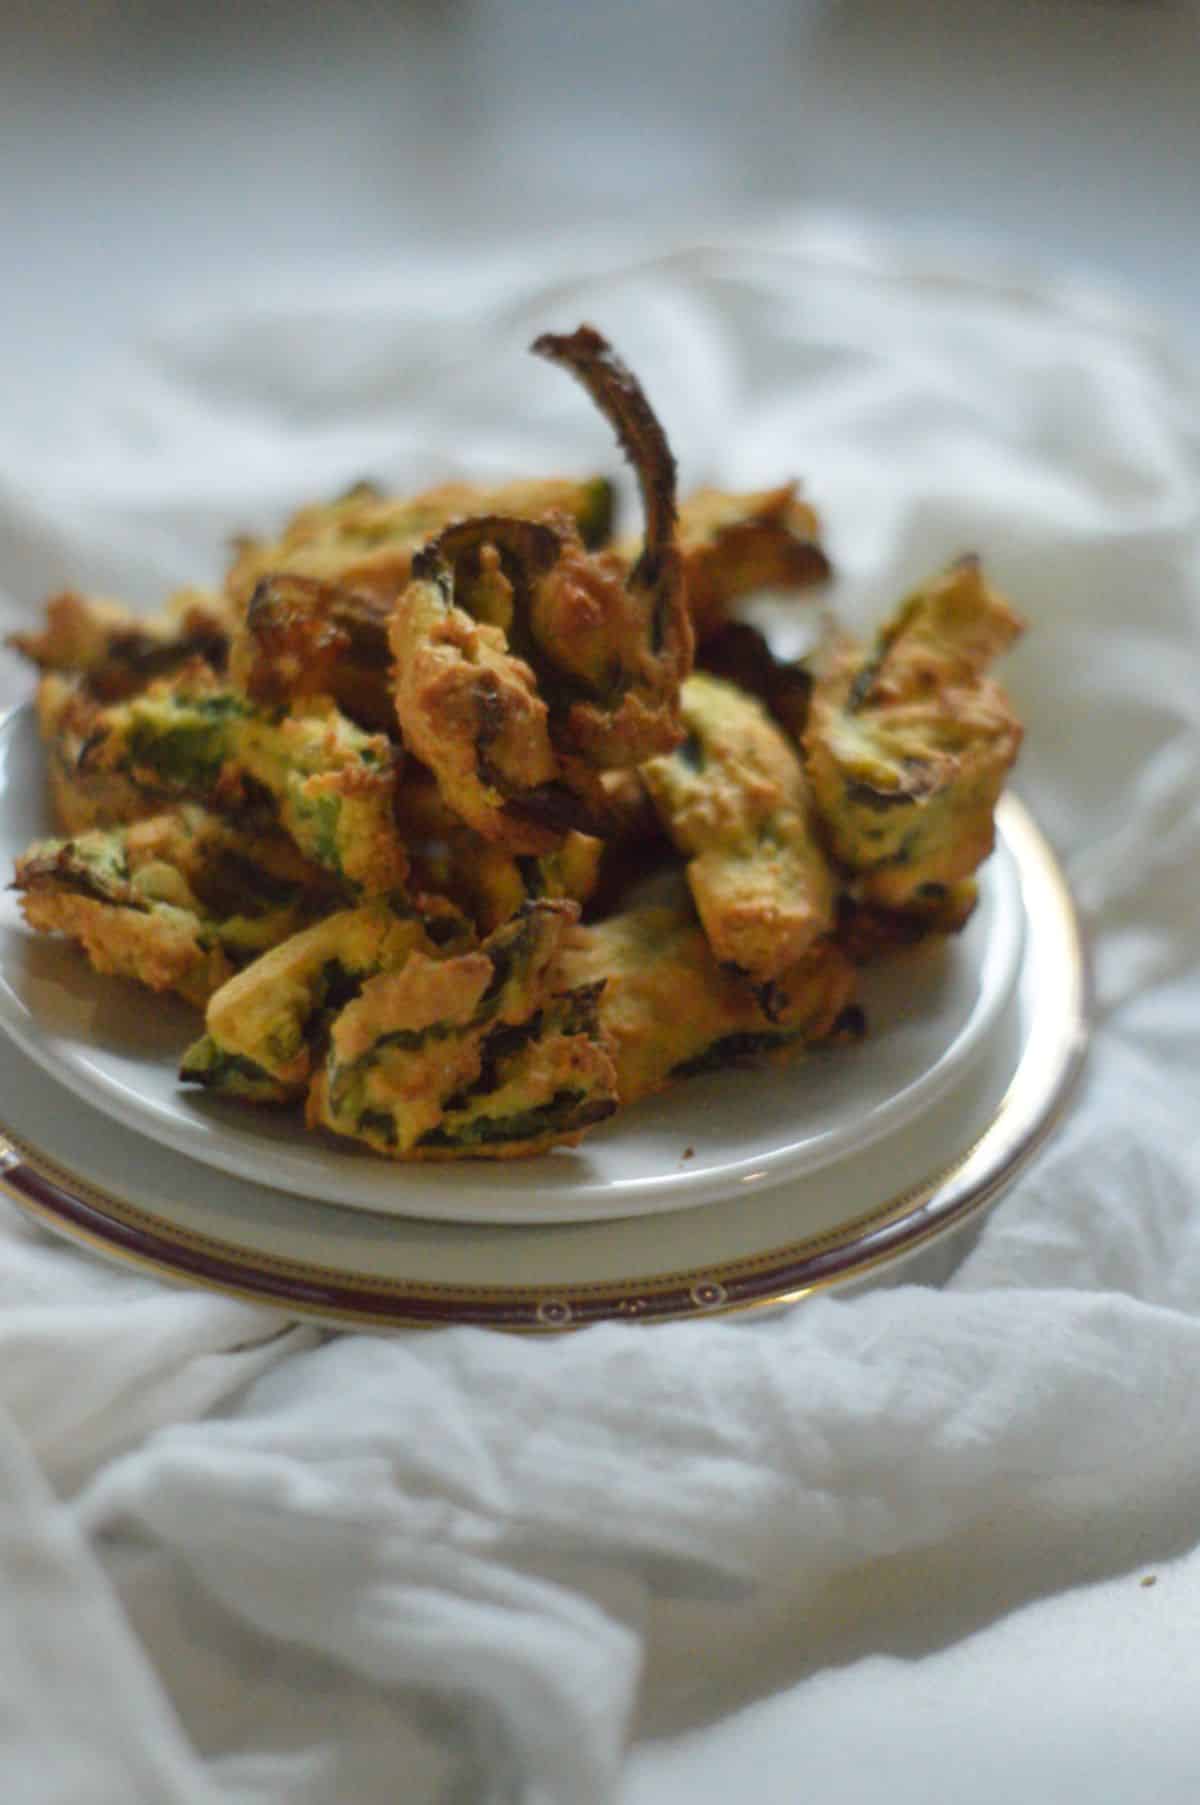
Mirchi vada is a popular Indian street food snack that originates from the state of Rajasthan.
It is made by stuffing large green chilies with a spicy potato filling (optional), coating them in a gram flour batter, and deep-frying until crispy and golden brown.

While traditionally deep-fried, mirchi vada can also be made in an air fryer for a healthier version of the snack.
To make an air-fryer mirchi vada, first, the potatoes are boiled and mashed with a blend of spices like cumin, coriander, turmeric, and chili powder. The mixture is then used to stuff the green chilies.
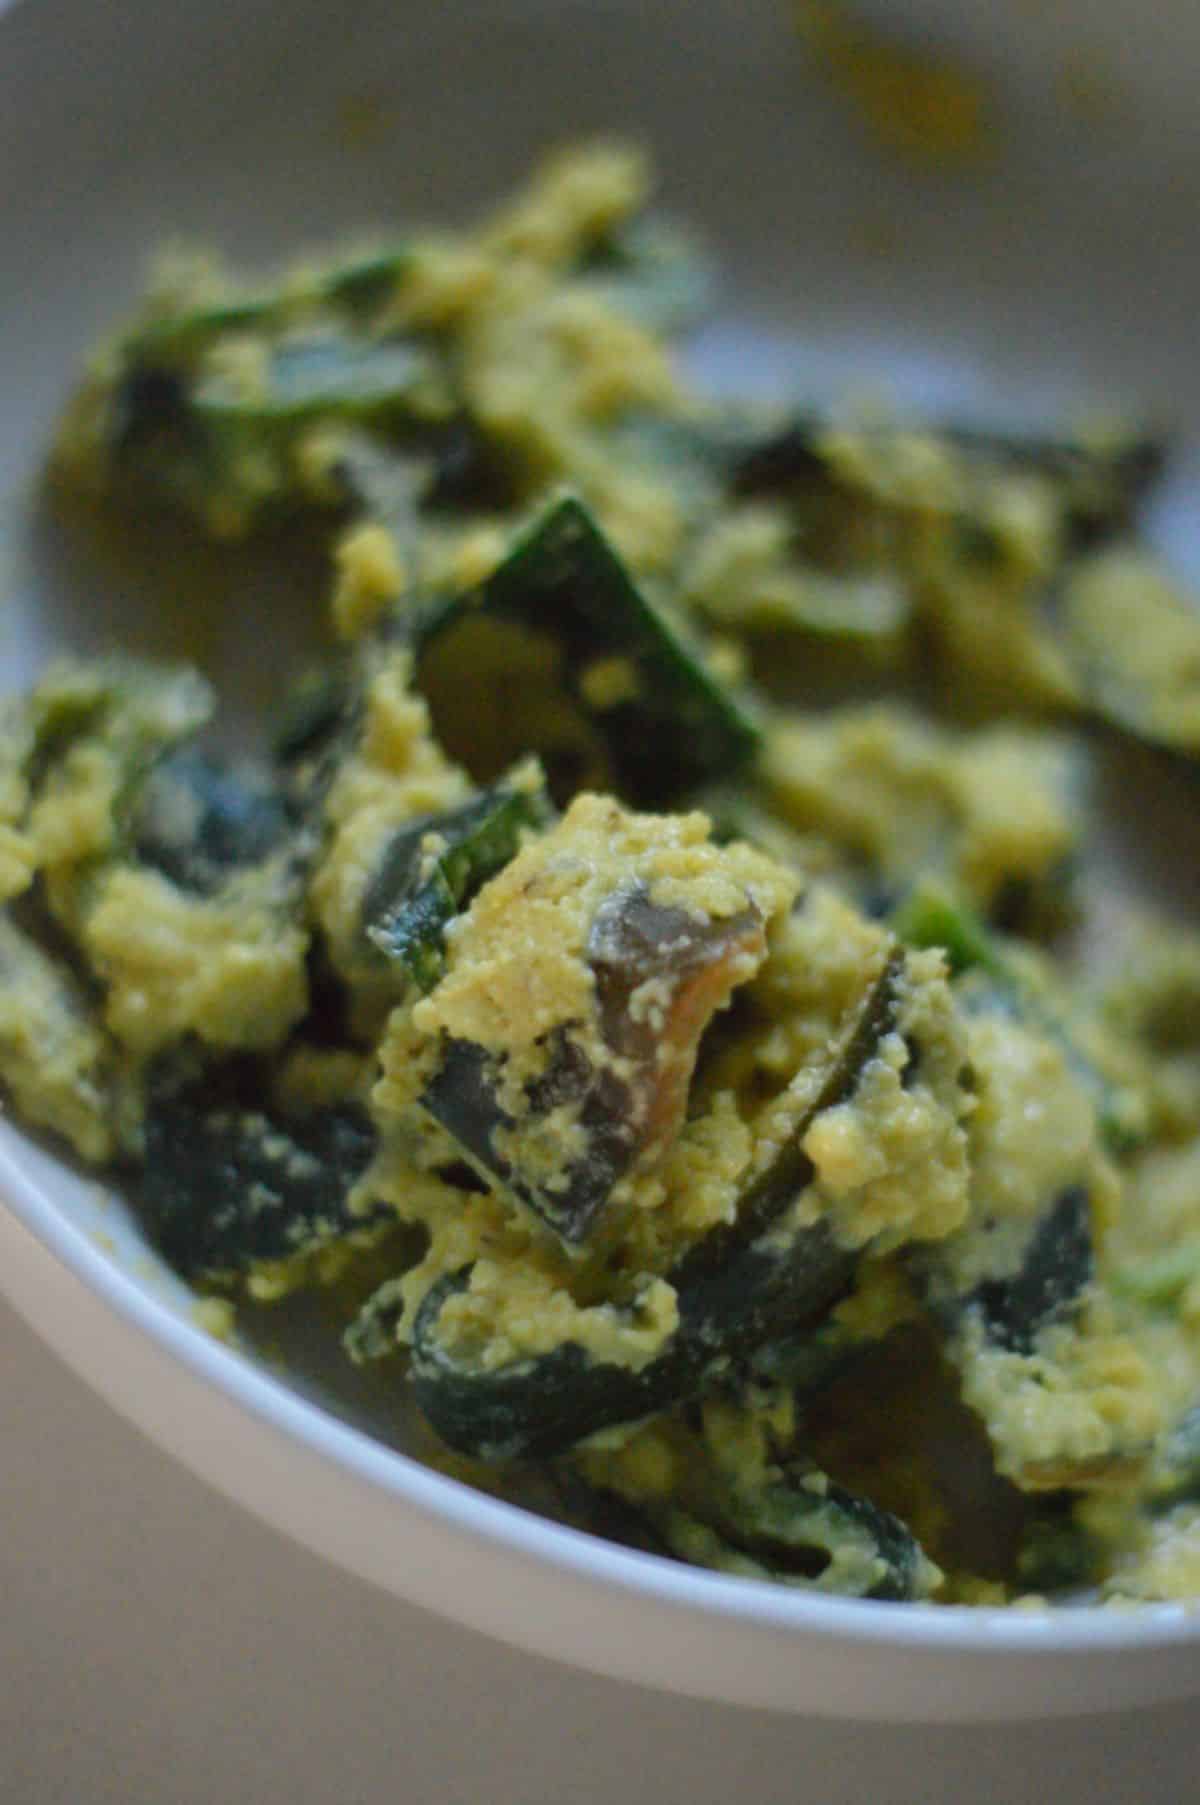
The stuffed chilies are then coated in a gram flour batter made with water, salt, and spices. Finally, they are air-fried until crispy and golden brown. However, my vadas are a lot lighter without the potato filling.
I instead dipped them in chickpea batter and air-fried it. The result is crispier and tastier vadas.
Reasons to make Air-Fryer Mirchi Vada
Using an air fryer to make mirchi vada has several health benefits.
- By air-frying instead of deep-frying, the snack is much lower in calories and fat, making it a healthier option for those looking to reduce their calorie and fat intake.
- Additionally, air-frying can help to preserve the nutrients in the food, making it a great way to enjoy the nutritional benefits of green chilies and potatoes.
- Green chilies are a good source of vitamin C, which is essential for maintaining a healthy immune system and promoting wound healing.
- They are also rich in antioxidants, which can help to protect the body from damage caused by free radicals. Potatoes, on the other hand, are a great source of potassium, vitamin C, and dietary fiber. You can use potatoes if you like or use paneer fillings to stuff your vadas. With or without the fillings, the vadas are really delicious.
Overall, air-fryer mirchi vada is a delicious and healthier version of the traditional deep-fried snack. It provides all the flavor and texture of the original while also offering several health benefits.
Whether you are looking for a tasty snack to enjoy on a lazy afternoon or a healthier alternative to traditional street food, air fryer mirchi vada is definitely worth a try.
Ingredients
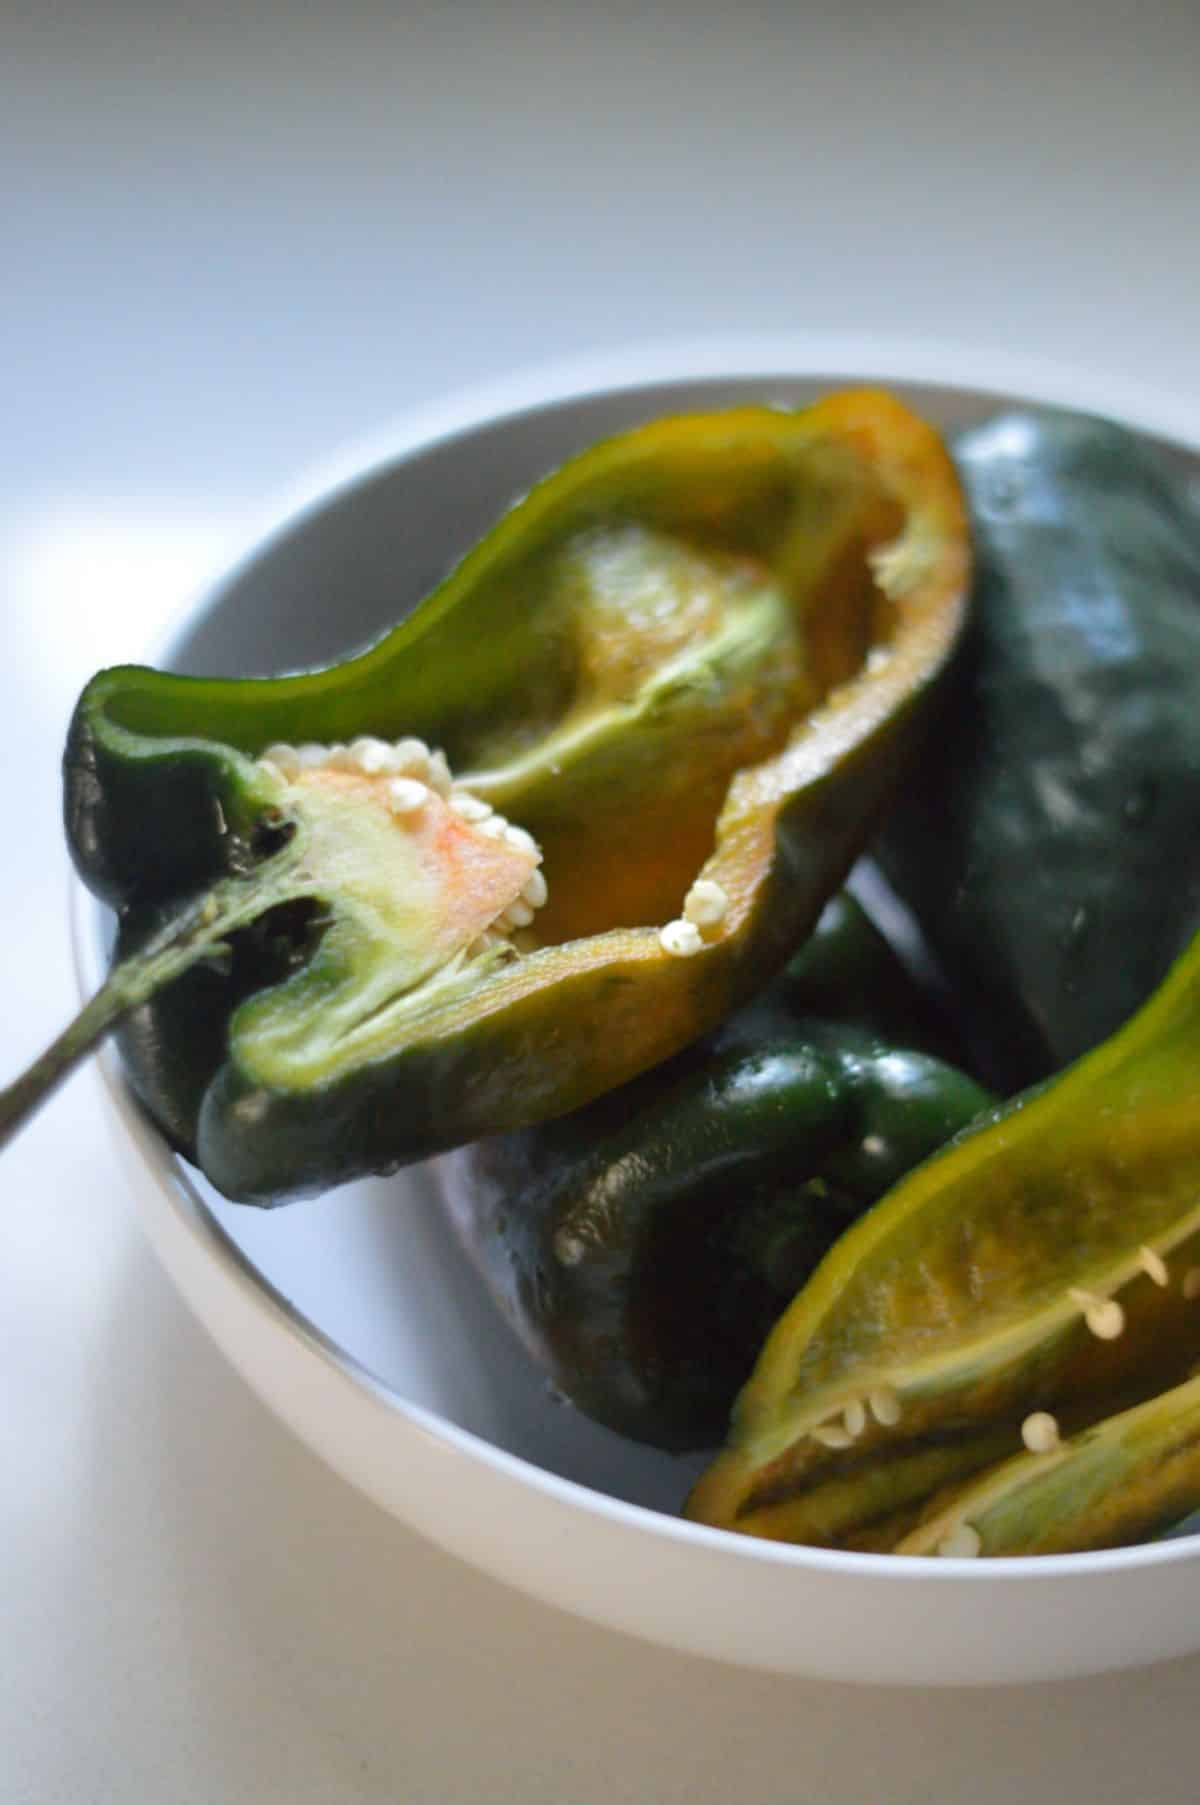
- 10-12 medium-sized green chili peppers, deseeded and chopped (I prefer banana or anaheim pepper)
- 1 cup besan (chickpea flour)
- 1 teaspoon salt
- ½ teaspoon turmeric powder
- ½ teaspoon red chili powder
- 1 teaspoon coriander powder
- ½ teaspoon cumin powder
- ½ teaspoon ajwain seeds
- ½ teaspoon baking powder
- 2 tablespoons oil
- Water, as needed
Instructions
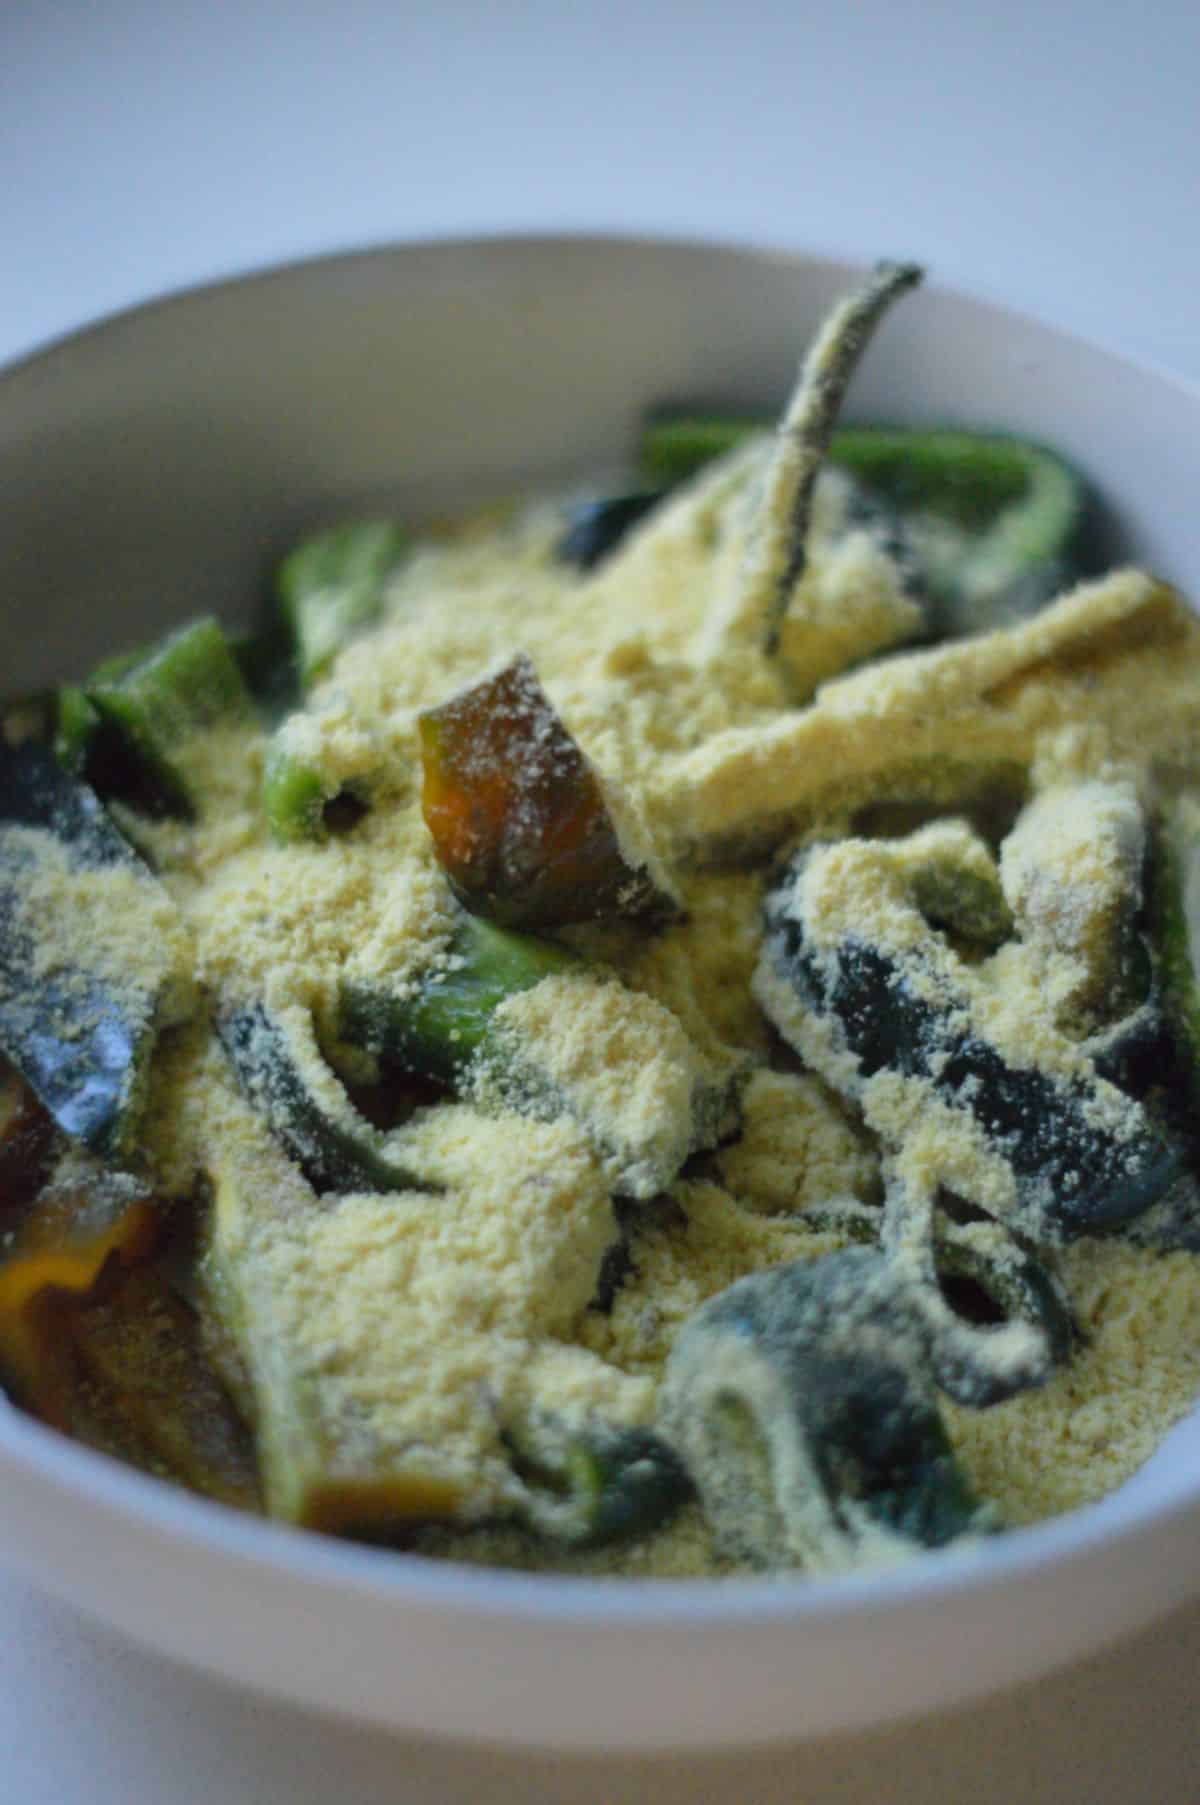
- In a mixing bowl, combine the besan, salt, turmeric, red chili powder, coriander powder, cumin powder, ajwain seeds, and baking powder. Mix well.
- Add the chopped green chili peppers and mix well. Add water as needed to make a smooth batter. The batter should be thick enough to hold its shape when scooped.
- Preheat the air fryer to 400°F.
- Scoop a spoonful of the batter and shape it into a round vada. Repeat with the remaining batter.
- Lightly brush the vadas with oil.
- Place the vadas in the air fryer basket in a single layer. Make sure there is enough space between each vada.
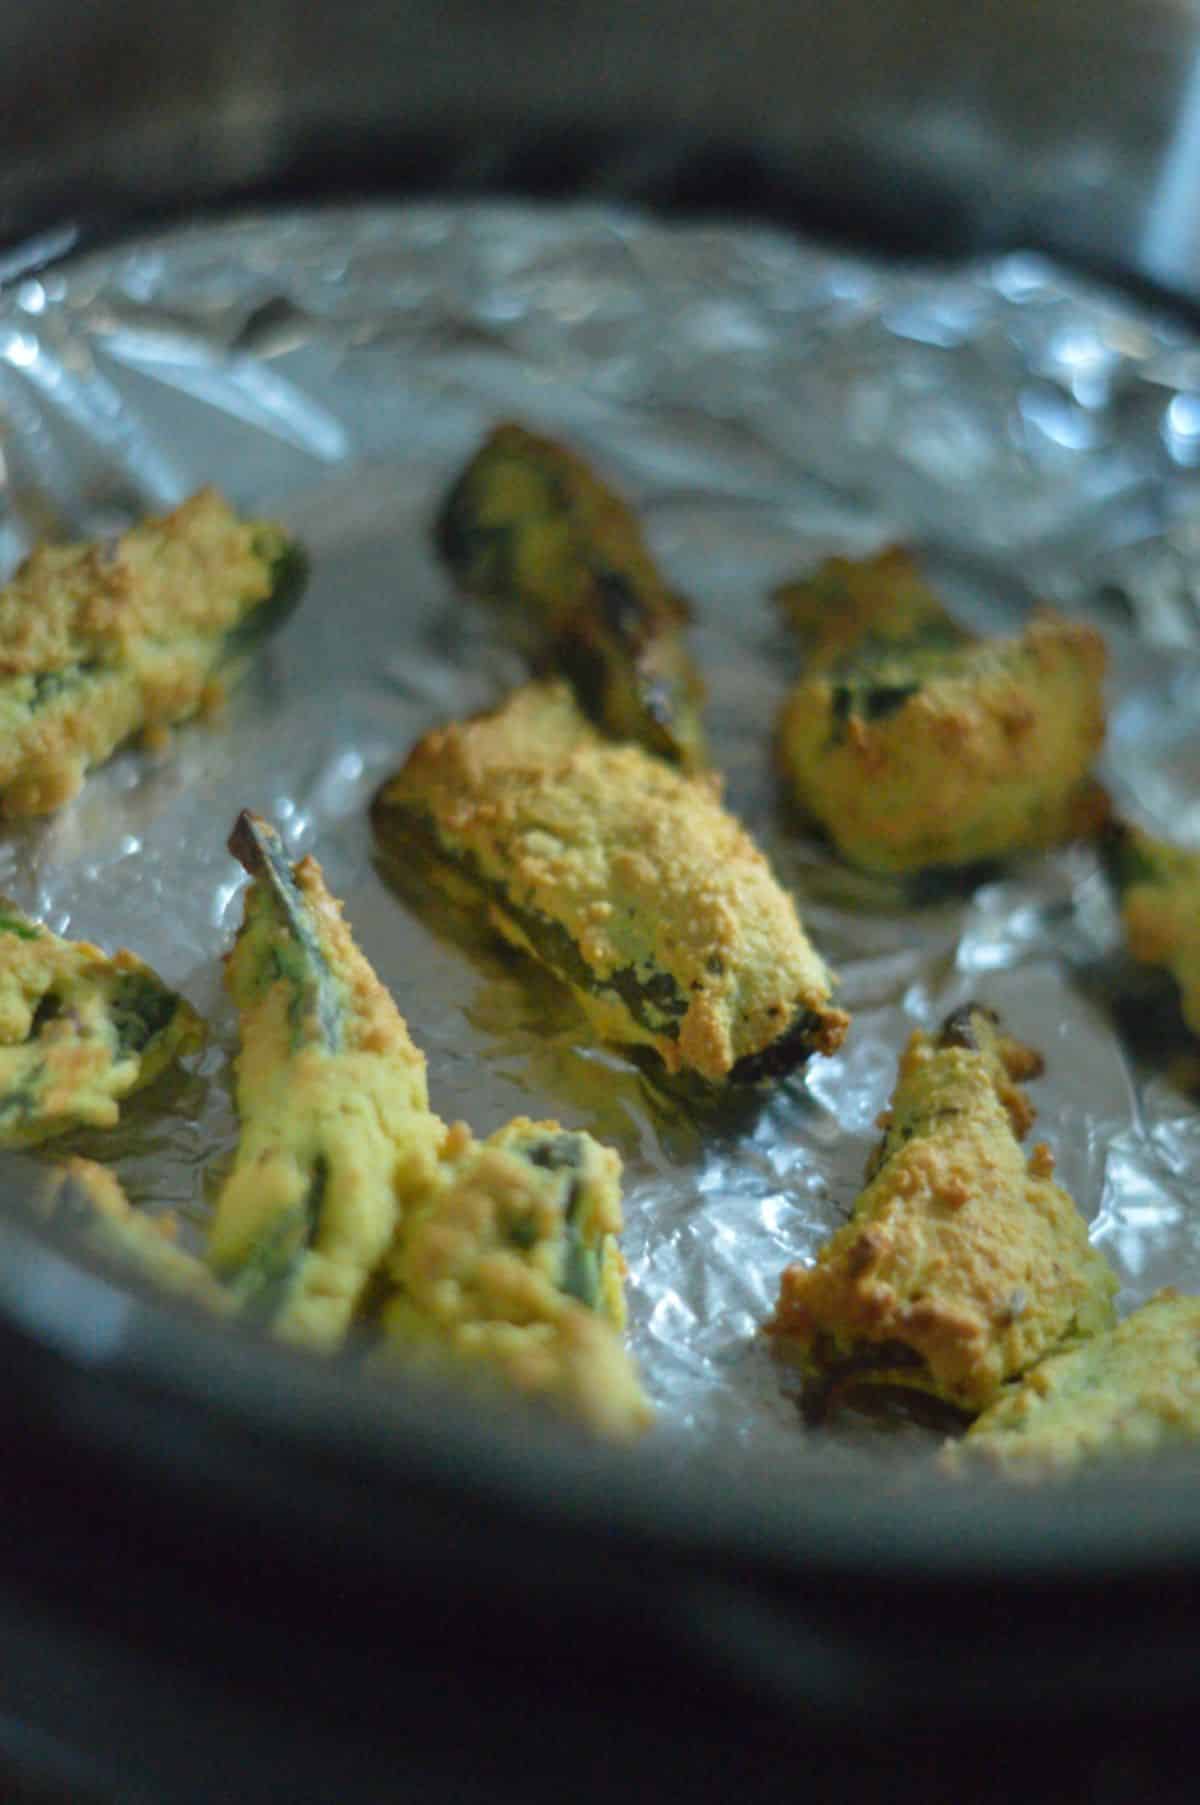
- Air fry for 8-10 minutes until they are golden brown and crisp.
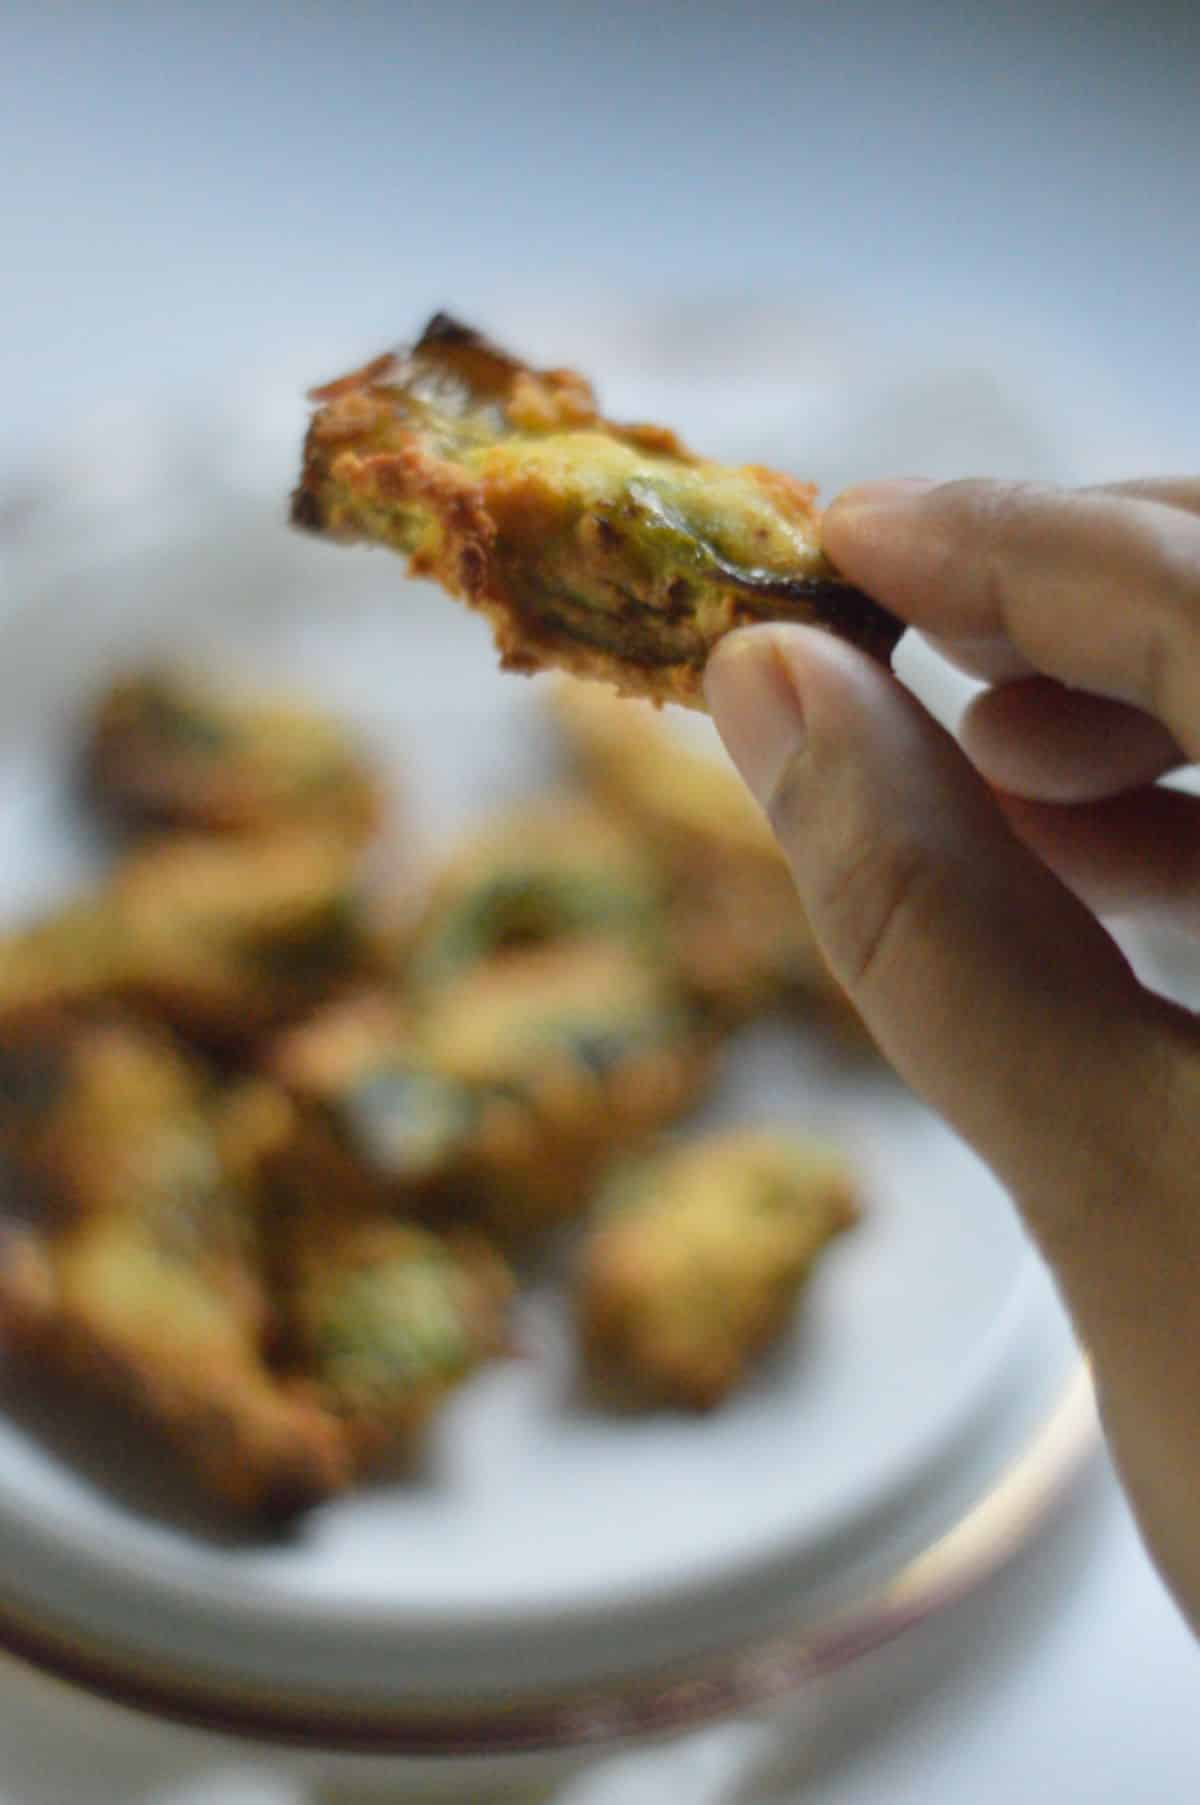
- Serve hot with chutney or sauce of your choice. Enjoy!
Notes: Instead of using big slices of chilies, use small slices. This ensures quick and even cooking in the air-fryer.
📖 Recipe

Air-Fryer Mirchi Vada Recipe
Ingredients
- 10-12 medium-sized green chili peppers, deseeded and chopped (I prefer banana or anaheim pepper)
- 1 cup besan, chickpea flour
- 1 teaspoon salt
- ½ teaspoon turmeric powder
- ½ teaspoon red chili powder
- 1 teaspoon coriander powder
- ½ teaspoon cumin powder
- ½ teaspoon ajwain seeds
- ½ teaspoon baking powder
- 2 tablespoons oil
- Water, as needed
Instructions
- In a mixing bowl, combine the besan, salt, turmeric, red chili powder, coriander powder, cumin powder, ajwain seeds, and baking powder. Mix well.1 cup besan, 1 teaspoon salt, ½ teaspoon turmeric powder, ½ teaspoon red chili powder, 1 teaspoon coriander powder, ½ teaspoon cumin powder, ½ teaspoon ajwain seeds, ½ teaspoon baking powder
- Add the chopped green chili peppers and mix well. Add water as needed to make a smooth batter. The batter should be thick enough to hold its shape when scooped.10-12 medium-sized green chili peppers, Water
- Preheat the air fryer to 400°F.
- Scoop a spoonful of the batter and shape it into a round vada. Repeat with the remaining batter.
- Lightly brush the vadas with oil.2 tablespoons oil
- Place the vadas in the air fryer basket in a single layer. Make sure there is enough space between each vada.
- Air fry for 8-10 minutes until they are golden brown and crisp.
- Serve hot with chutney or sauce of your choice. Enjoy!
Leave a Reply