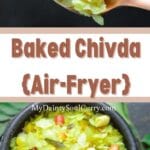
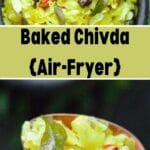

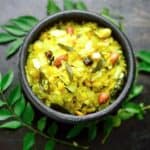

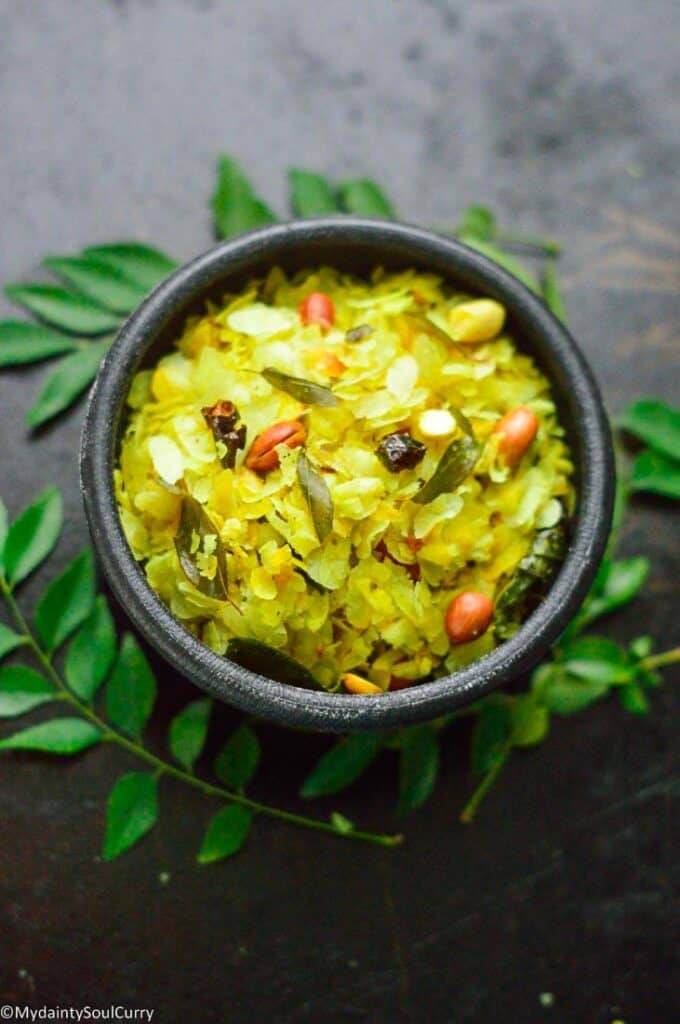
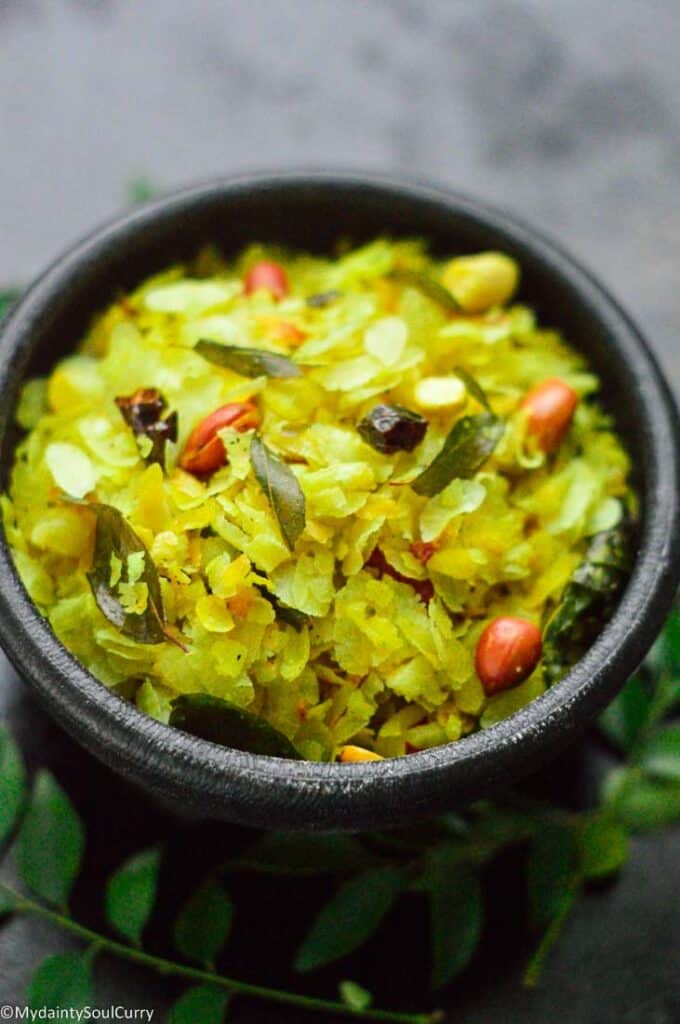
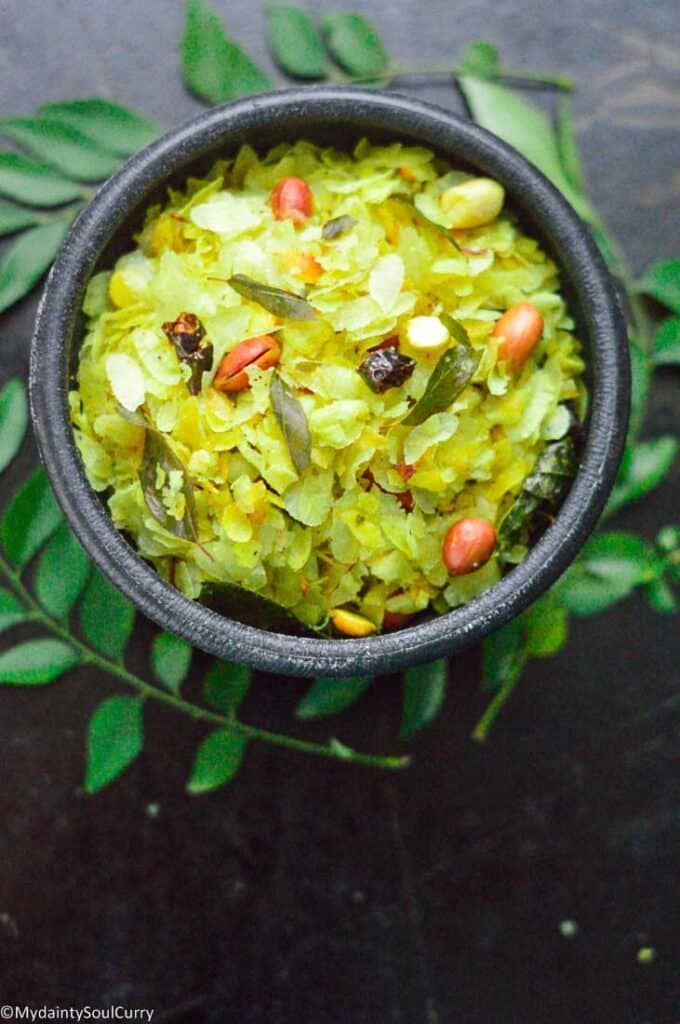
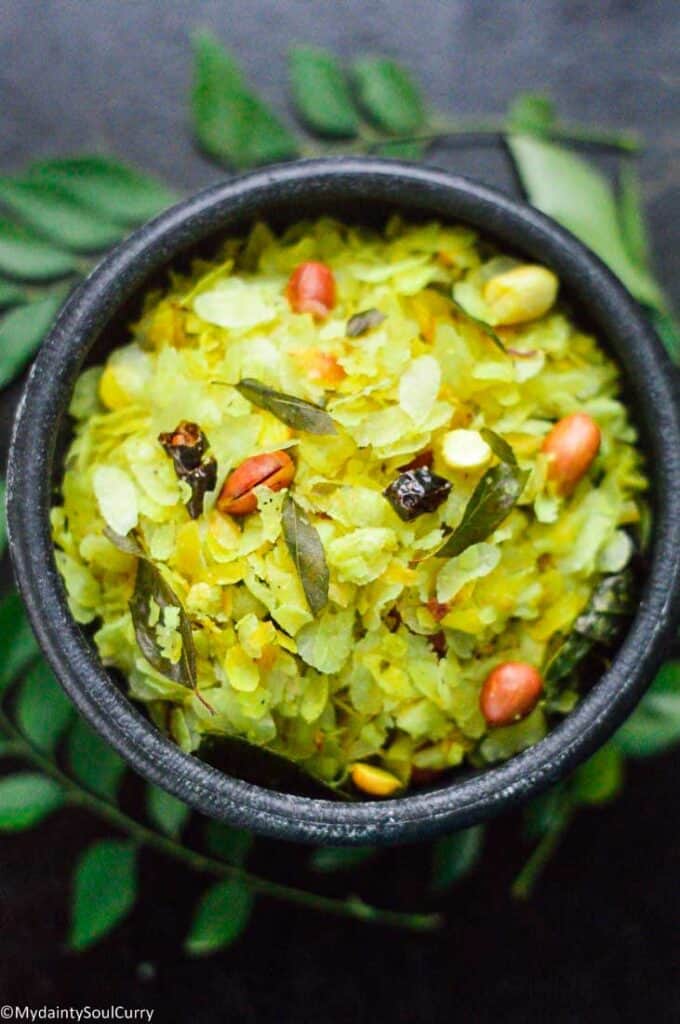
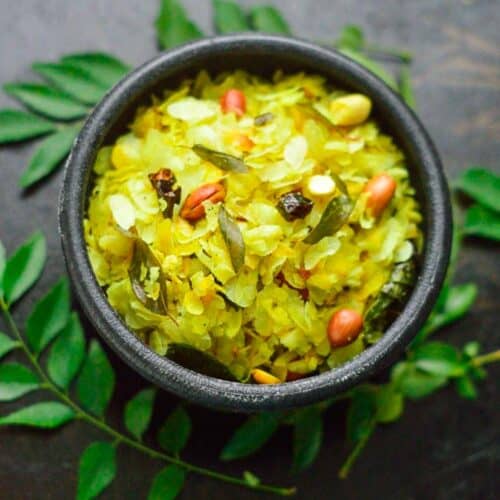
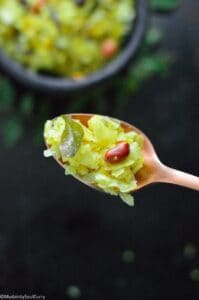
Baked chivda is a better-for-you version of the fried Indian flat-rice snack. Flavored with spices, ginger, and topped with peanuts, my baked chivda snack is very addictive.
I bake the flat rice flakes instead of deep frying. If you want, you can pan roast them as well. Since it’s the festive month and I am making a huge batch of this savory Indian snack, I prefer baking over pan roasting.
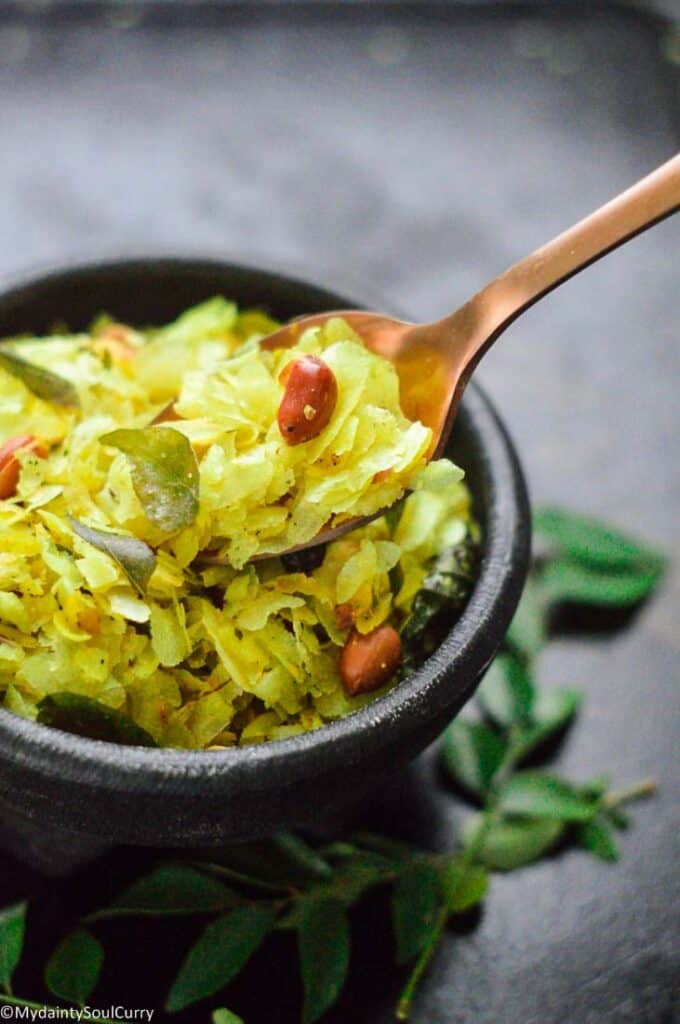
Adding nuts is optional. But I prefer to add some peanuts and cashew nuts in addition to fresh or dried chili, ginger and curry leaves.
This baked chivda is perfect with tea or chai.
I make two versions of this chivda: one without turmeric and one with it.
My mom often makes the non-turmeric one, which is spicy and flavorful. The other version is good too, which has a savory and sweet flavor.
Why should you make baked chivda?
Baked chivda is a healthier version of the fried chivda. It has only a tablespoon of oil per three to four cups of poha. If you are looking for a healthier alternative to the fried chivda, then my baked chivda is a great option.

Baked vs. Air-fryer Chivda:
Both versions result in crispy, flavorful chivda but with half calories. Baked version is perfect for making a large batch of the chivda whereas the air-fryer version is good for making a small batch real quick.
How to Make Baked Chivda:
Ingredients Of Baked Chivda:
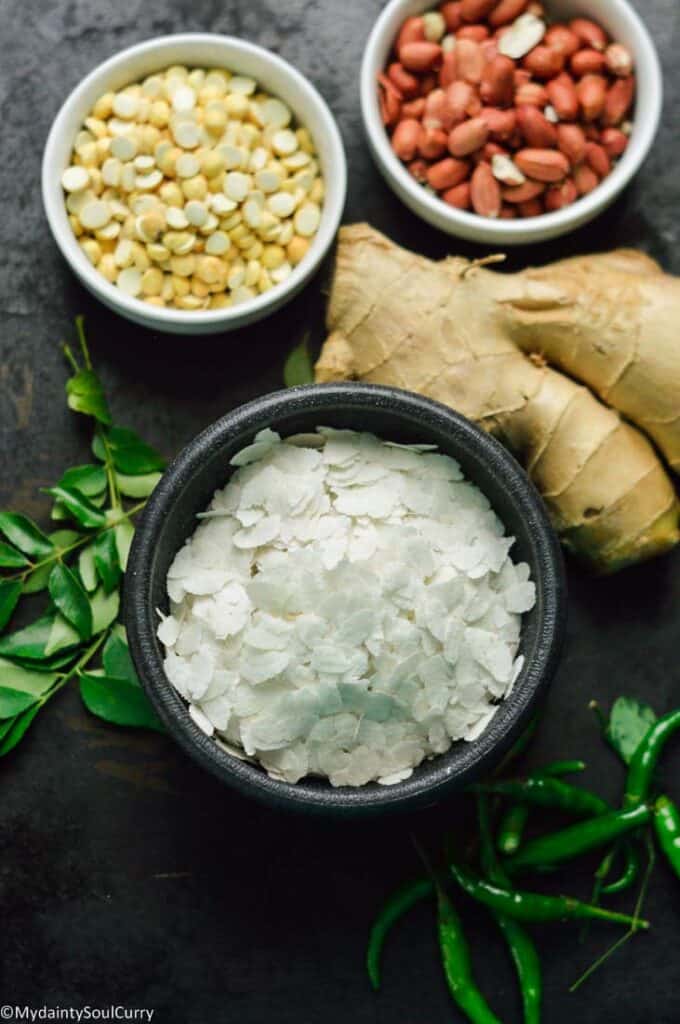
- 6 cups thin poha flattened rice, 400 grams
- ½ cup peanuts, pan roasted
- ¼ cup roasted cashews and almonds optional
- 2 tablespoons cooking oil
- 1 tablespoon golden raisin optional
- 20-30 curry leaves
- ¼ teaspoon pinch hing
- 2 tablespoon grated ginger
- 2 tablespoon chopped green chilies
- ½ teaspoon turmeric powder
- ¼ teaspoon red chili powder
- salt and black salt to taste
- 2 teaspoons powdered sugar (optional)
Method Of Making Baked Chivda:
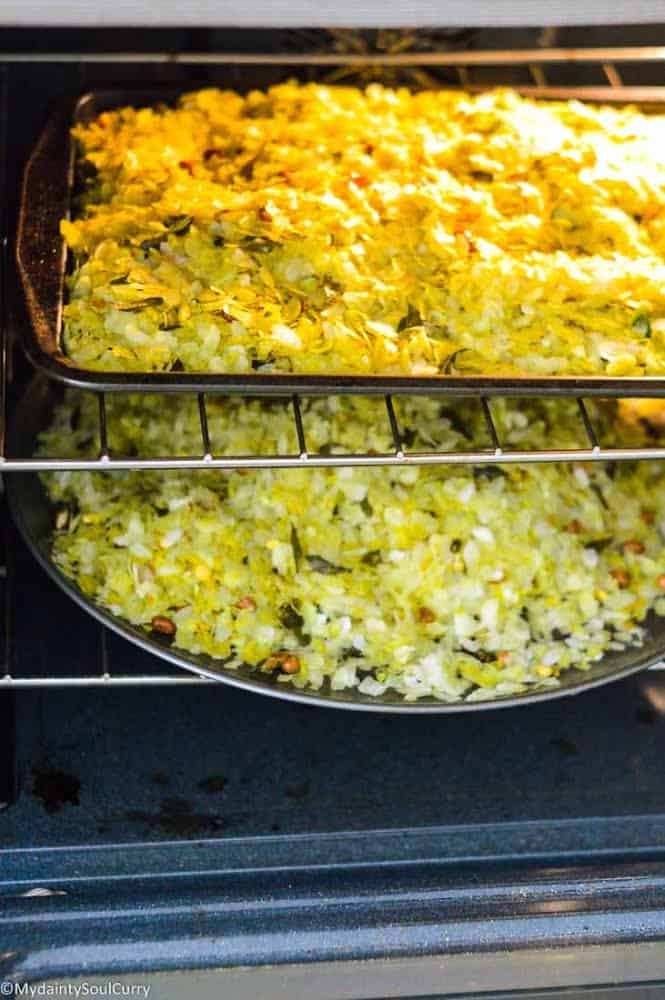
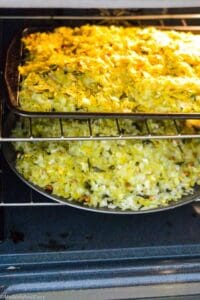
- Pre-heat oven to 350 F degrees.
- Take a baking sheet/pan and spray it with oil.
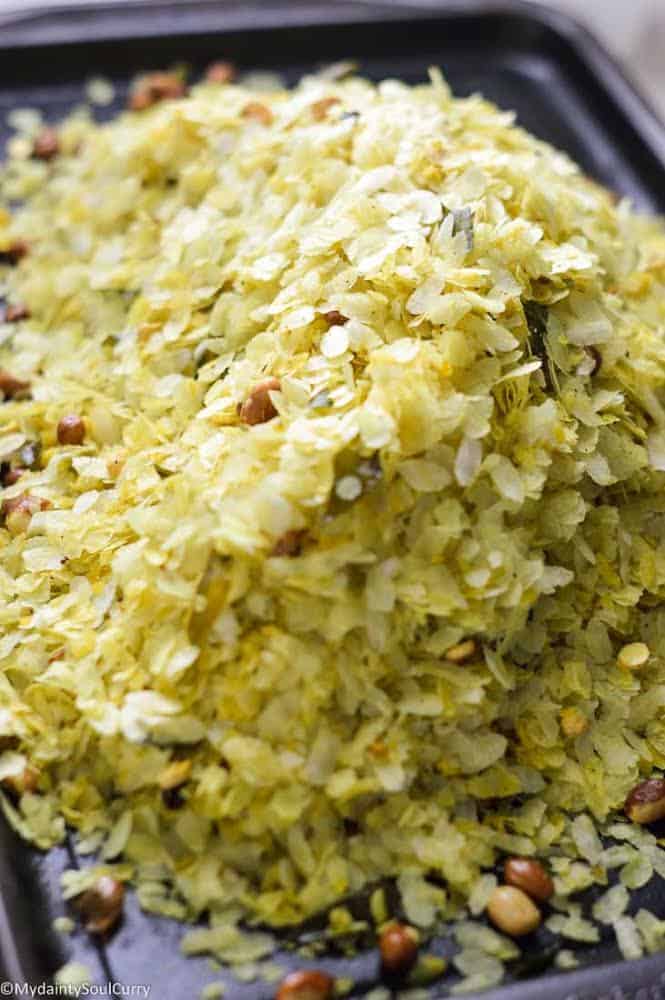
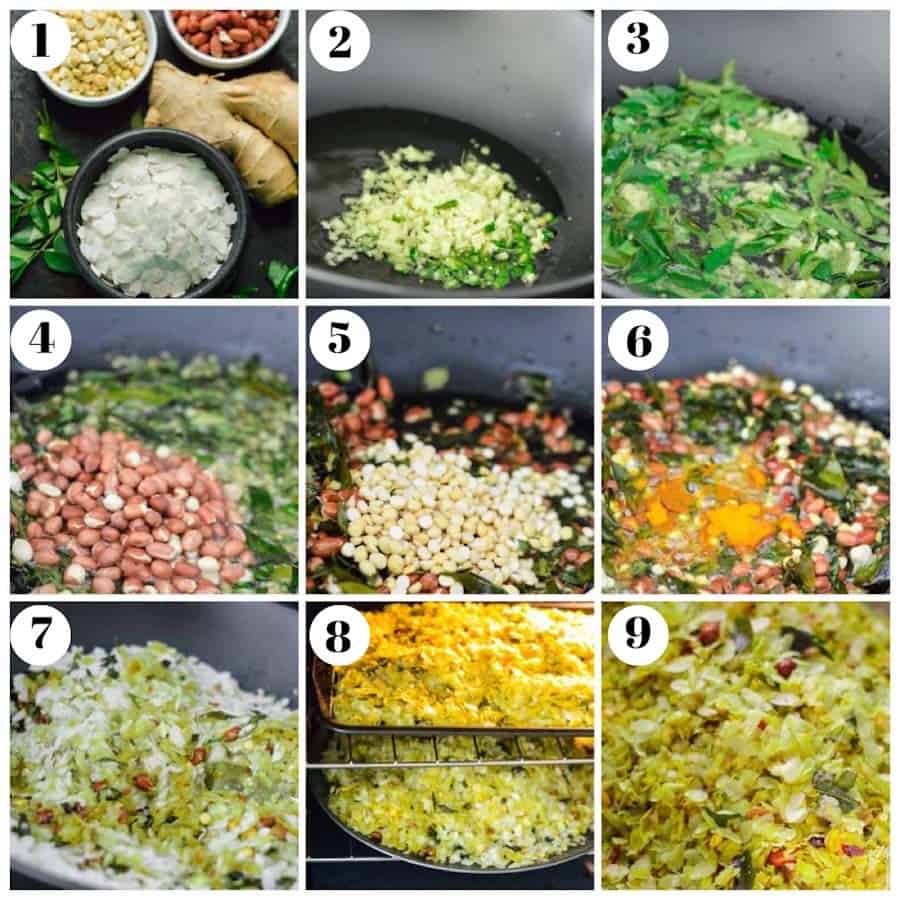
- In a big bowl, add thin poha, half of the oil, salt, and all spices, and mix gently.
- Now, place this mixture of poha in a single layer on the baking sheet.
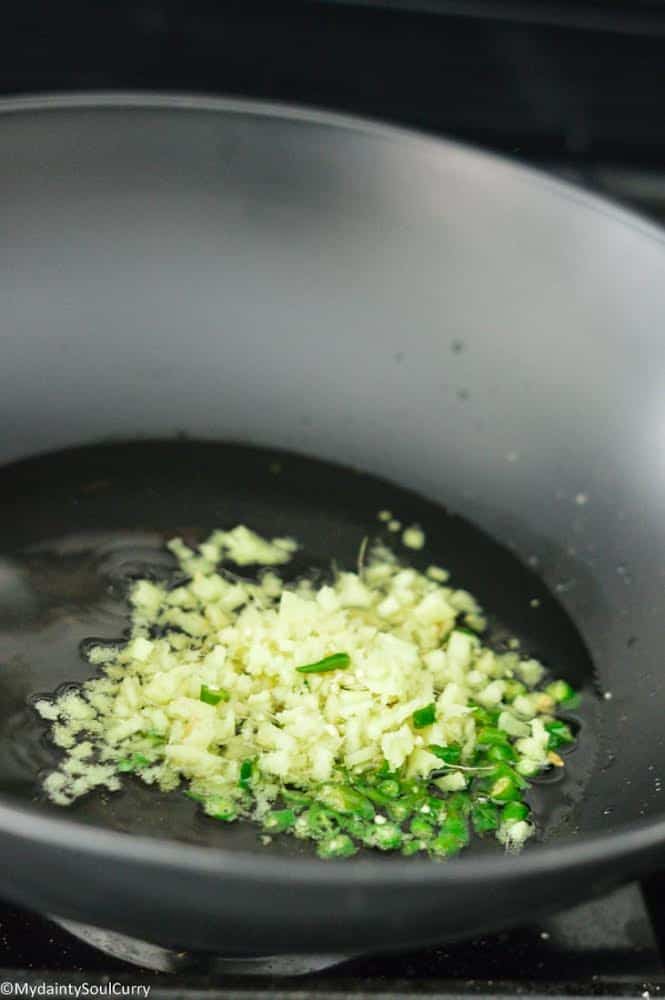
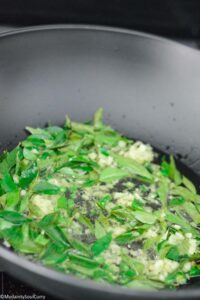
- In a pan, take remaining oil. When the oil is hot, add hing, and grated ginger followed by curry leaves and green chilies.

- Cook them till the ingredients are infused in oil but not 100% cooked. (Takes about 1-2 minutes after adding to the oil)
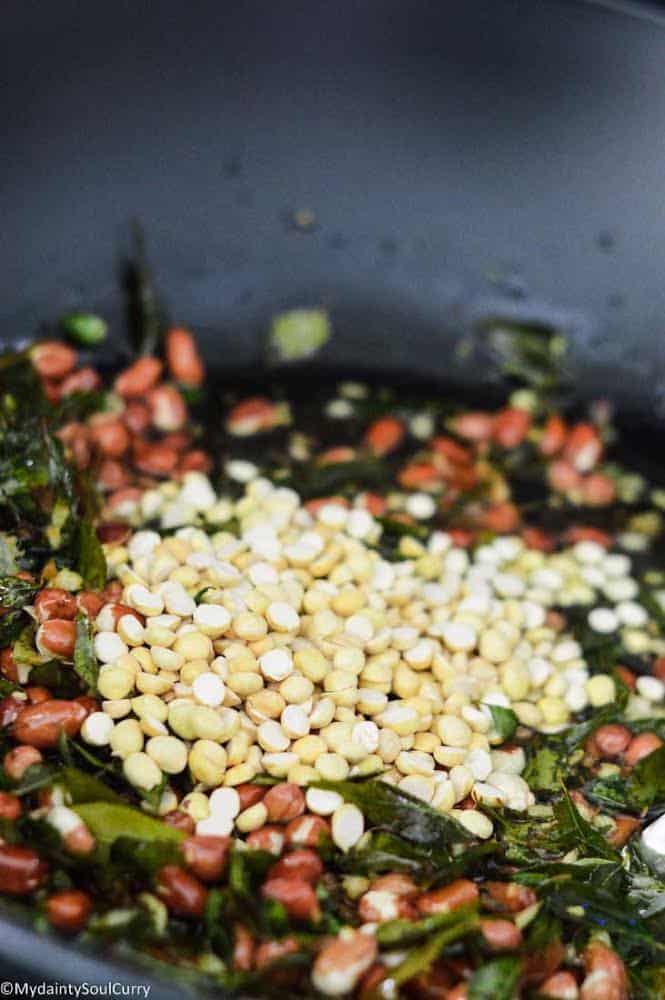
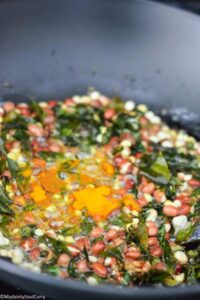
- Add nuts and dal at this point. Mix well and allow it to brown a little.
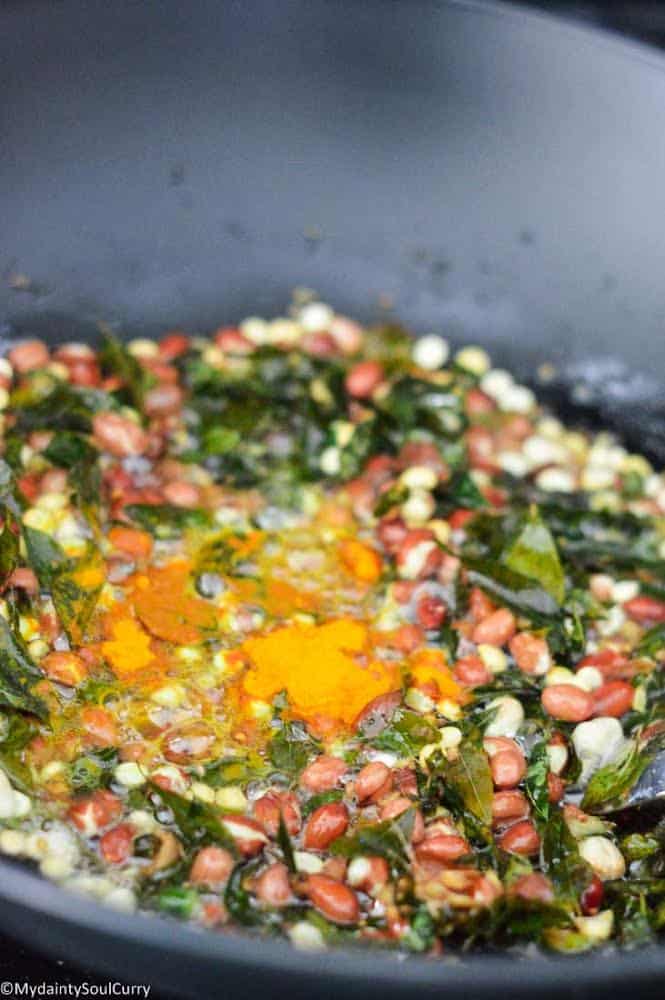
- Add this oil over your poha and keep the ginger, curry leaves and green chilies aside. Or, mix the poha in this tadka/seasoning and stir gently.
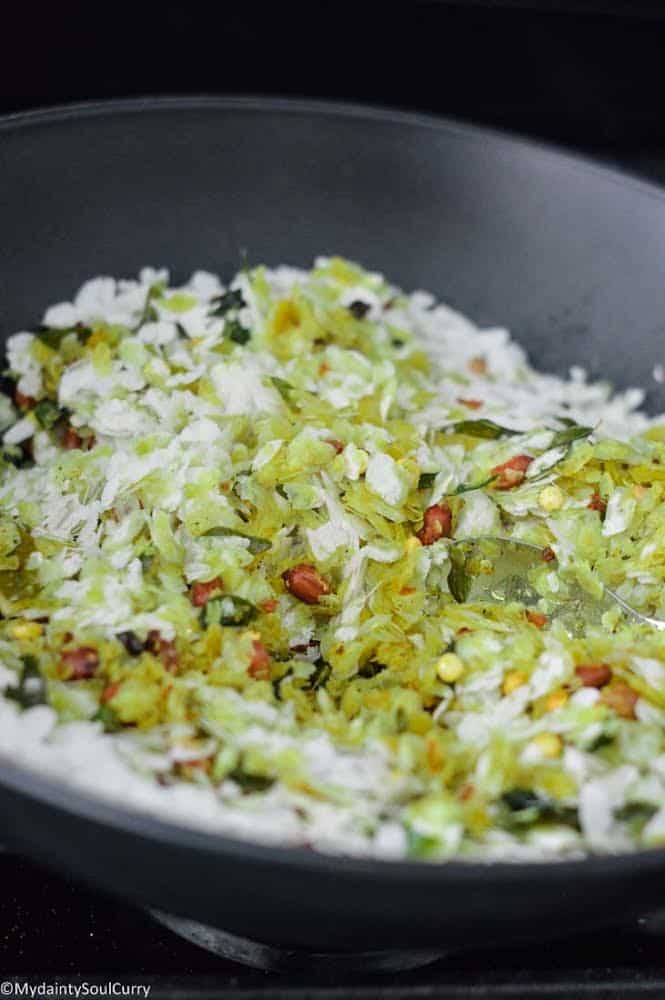
- Mix in the oil well and now add the half-cooked ginger, curry leaves and ginger to the top.
- Roast at 350 F degrees for 10 to 13 minutes, stirring once in between until the poha starts to change color around the edges and turn crispy. If you are using a small baking sheet, then bake the poha in two to three small batches.
Air-fryer Version:
- For the air-fryer version, line the air-fryer basket or tray and add seasoned raw poha. Cook each batch for 7-8 minutes until the poha becomes crispy with edges light brown.
- Once roasted, allow the poha to cool down a bit. Add nuts and sugar and mix well. If using raisins, just fry them in little oil before adding to the poha.
- Mix well and adjust salt and chili powder if necessary. Once completely cool, store the baked chivda in an air-tight container.
- Enjoy!
NOTE:
- You can skip sugar if you like.
- For a non-turmeric version, just use ginger and green chilies with curry leaves and hing to flavor the chivda. I prefer to make this version in ghee and add only peanuts.
- Other toppings that go well with chivda are roasted makhana, roasted coconut strips and dalia dal.
📖 Recipe
Baked Chivda (+Air-fryer)
Equipment
- Air Fryer
Ingredients
- 6 cups thin poha flattened rice, 400 grams
- ½ cup peanuts, pan-roasted
- ¼ cup roasted cashews and almonds optional
- 2 tablespoons cooking oil
- 1 tablespoon golden raisin optional
- 20-30 curry leaves
- ¼ teaspoon pinch hing
- 2 tablespoon grated ginger
- 2 tablespoon chopped green chilies
- ½ teaspoon turmeric powder
- ¼ teaspoon red chili powder
- salt and black salt to taste
- 2 teaspoons powdered sugar optional
Instructions
- Pre-heat oven to 350 F degrees.
- Take a baking sheet/pan and spray it with oil.
- In a big bowl, add thin poha, half of the oil, salt, and all spices, and mix gently.

- Now, place this mixture of poha in a single layer on the baking sheet.
- In a pan, take remaining oil. When the oil is hot, add hing, and grated ginger followed by curry leaves and green chilies.
- Cook them till the ingredients are infused in oil but not 100% cooked. (Takes about 1-2 minutes after adding to the oil)
- Add nuts and dal at this point. Mix well and allow it to brown a little.
- Add this oil over your poha and keep the ginger, curry leaves and green chilies aside.
- Mix in the oil well and now add the half-cooked ginger, curry leaves and ginger to the top.
- Roast at 350 F degrees for 10 to 13 minutes, stirring once in between until the poha starts to change color around the edges and turn crispy. If you are using a small baking sheet, then bake the poha in two to three small batches.

Air-Fryer:
- For the air-fryer version, line the air-fryer basket or tray and add seasoned raw poha. Cook each batch for 7-8 minutes until the poha becomes crispy with edges light brown.
- Once roasted, allow the poha to cool down a bit. Add nuts and sugar and mix well. If using raisins, just fry them in little oil before adding to the poha.

- Mix well and adjust salt and chili powder if necessary. Once completely cool, store the baked chivda in an air-tight container.
- Enjoy!

Notes
- For this recipe, use thin poha only. The thick variety becomes little hard when baked.
- You may add resins, coconut and other toppings like makhana.
Leave a Reply