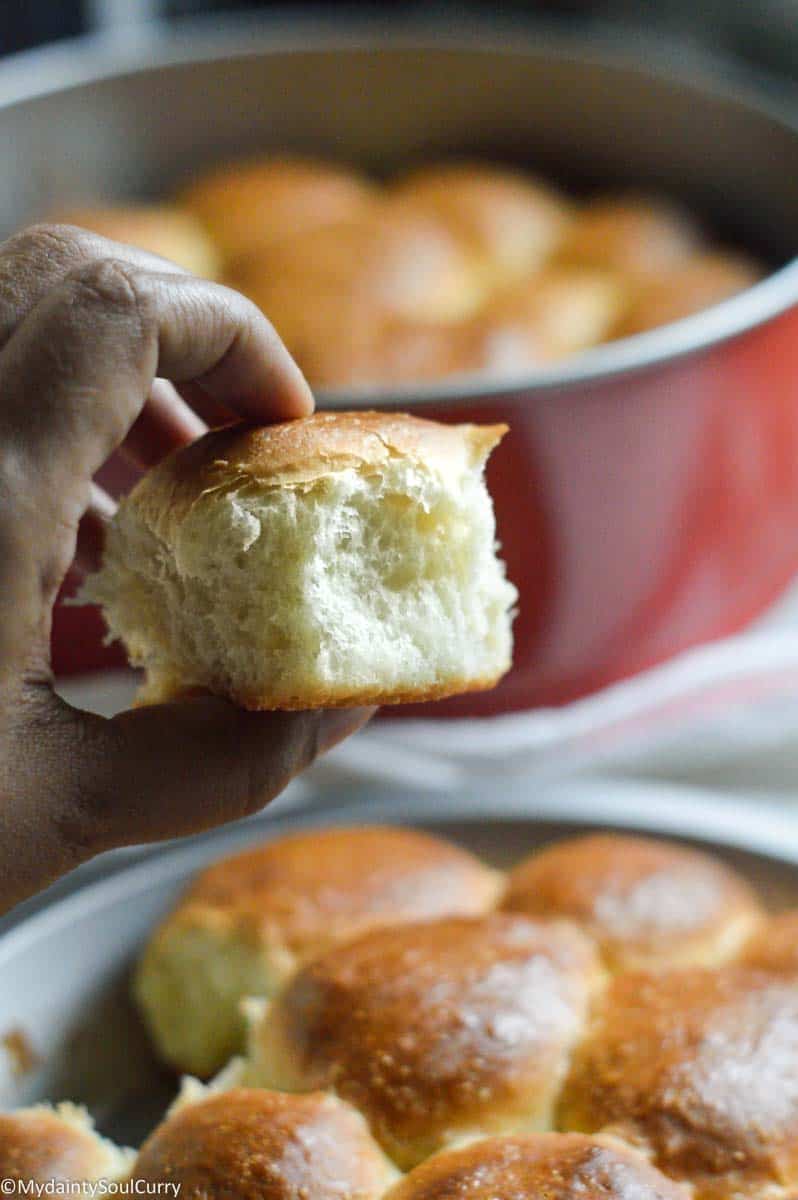
Instant Pot Bread (Hawaiian Rolls)
This soft and buttery Homemade Hawaiian Bread Rolls is perfectly proofed in the instant pot. These instant pot Hawaiian dinner rolls are sweet, soft, fluffy, and golden brown. This is the easiest and yummiest instant pot bread to make at home.
Print
Pin
Servings: 8
Calories: 90kcal
Cost: $6
Equipment
- Instant pot
Ingredients
For the dough
- 4 ½ cups 20 ounces bread flour or all purpose flour
- ½ cup canned pineapple juice room temperature
- ½ cup warm milk avoid refrigerated milk
- 4 tablespoons unsalted butter melted and slightly cooled
- 2 whole eggs lightly beaten
- 6 tablespoons granulated sugar
- 1 ½ teaspoons sea salt
- 1 packet instant yeast 2 and ¼ teaspoons
For Baking
- ⅓ cup warm milk for brushing the breads
Instructions
- NOTE: This recipe yields 22-30 bread rolls.
Combine all wet ingredients
- In a large bowl, take the pineapple juice, milk, melted butter, eggs, sugar and salt. Whisk well using a whisker or in an electric hand mixer. Alternatively, use a stand mixer for this step.
- Now add yeast to the same mixture and mix gently.
Add dry ingredients
- Sift the bread flour and add it to the wet ingredients. Stir with a wooden spoon until a dough forms. Now use a bread hook in your stand or hand mixer to make a smooth dough. Always use a medium-low speed while making the dough. It helps to develop the gluten gradually.
- NOTE: Start by adding 2 cups of flour and add the remaining flour gradually JUST until the dough comes together. It is possible that you may not need all the flour depending on the type or brand of flour you are using.
- Continue kneading the dough in medium-high speed for 4 to 5 minutes, until a soft and smooth ball of dough forms.
Proof the dough
- Transfer the dough onto a parchment paper and carefully place it inside the inner pot of the instant pot.
- Now select the yogurt setting and choose the “normal” option. Cover the inner pot with a plastic clinging wrap. Let the dough rise until puffy and doubled in size, about 1 hour to 1 and 30 minutes.
Second Proofing
- Preheat the oven to 150 F. This temperature is enough to help the second round of bread proofing.
- Now make your baking pan ready. I am using a 12-inch round pan and a 9-inch pie pan to bake my dinner rolls. Spray your baking pan with cooking spray and keep them ready.
- After the first proofing, gently, deflate the dough.
- Now use a bench scraper or knife and divide the dough into small but equal pieces. Use your palms to shape each piece of dough into a ball and place each of them in the prepared pan.
- Now cover them with plastic wrap and place them inside the oven for the second round of proofing for about 30-minutes.
Brush w/ Milk
- After 30-minutes, take the dinner rolls out and remove the plastic wraps. Your rolls will be double the size by now.
- Brush them with warm milk and proceed to the next step.
Bake
- Meanwhile, preheat the oven to 375°F.
- Once brushed, place the bread rolls in baking pan inside the oven and bake for about 15 to 20 minutes, or until golden brown.
- Based on your oven type, the baking time may be less or more.
- Allow the instant pot bread rolls to cool down a bit.
- Serve these yum Hawaiian rolls warm.
Notes
Yeast test:
You can always check if your yeast is good or not by doing this test, add the yeast granules to warm milk mixed with sugar. If bubbles form, then use that yeast for making bread.Bread flour vs. All-purpose flour:
- Both are really good options. However, bread flour gives a better result than the APF. The Bread Flour has a higher protein content, which means better gluten production.
- Result: bread rolls with a firm outer texture while soft from inside. The gluten also helps to support the yeast to form air pockets in a better way than how all-purpose flour actually does.
- However, if you are using APF for some reason, you may see a stickier dough after the final knead. That’s because APF has a lower liquid absorption capacity than bread flour. In that case, use a spoonful or two or extra flour to knead the dough again.
Brushing:
You can brush the bread rolls with milk or egg and water mixture. Both give really golden brown color to the instant pot bread rolls.Nutrition
Serving: 156g | Calories: 90kcal | Carbohydrates: 16g | Protein: 3g | Fat: 2g | Saturated Fat: 2g | Trans Fat: 1g | Sodium: 80mg | Sugar: 5g